Migrating from Zapier
Zapier and Rollout share many core concepts, making it simple to migrate your Zapier app to a Rollout connector. This guide will walk you through the migration process.
Preamble: About Specifying Requests#
Like Zapier, Rollout supports both a UI Mode and a Code Mode for making requests to your app when implementing Trigers and Actions. When migrating from Zapier to Rollout, you'll want to use the same mode in both products.
Migrating a UI Mode Request#
When migrating a UI Mode request, you'll copy over each field from Zapier to the Rollout request editor interface. Both products allow you to reference certain contextual data when specifying a request:
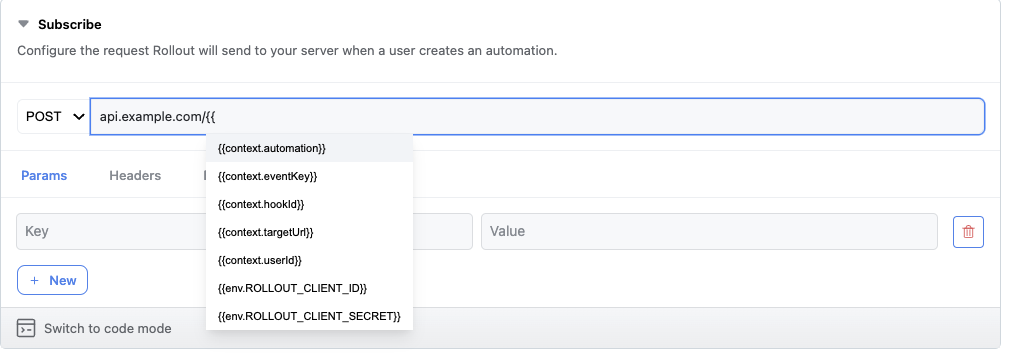
One difference to be aware of is that the values exposed as part of the Zapier bundle must be referenced through Rollout's context object instead.
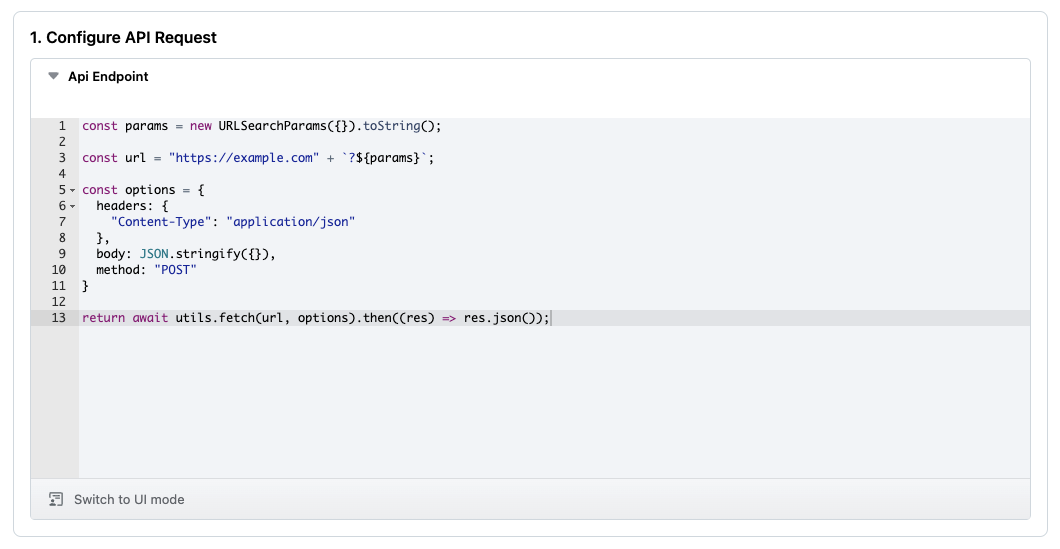
Migrating a Code Mode Request#
When migrating a Code Mode request, you can start by copying and pasting the relevant Zapier function to the Rollout Code Mode editor. Just as with UI Mode requests, you're able to reference contextual data in Code Mode. Learn more about the Code Mode runtime and Zapier compatibility here.
Step 1: Set Up User Auth#
See the documentation regarding User Auth for more details
If the API endpoints you use for your Zapier triggers and actions require OAuth 2, you'll need to configure OAuth 2 within Rollout as well. Learn more about configuring OAuth 2.0 in Rollout here.
Note that if you require OAuth 2, your users will see a pop-up asking them to authorize Rollout to access their account when they attempt to create an Automation through the Rollout UI Components embedded in your app. If you'd like to provide a smoother user experience that doesn't require the user to log in, consider modifying your Trigger and Action endpoints.
Step 2: Migrate your Triggers#
See the documentation regarding Creating Triggers for more details
If you're using Zapier's REST Hook triggers, you'll be able to easily recreate them in Rollout in UI or Code Mode. You'll then be able to send exactly the same data to both Rollout and Zapier!
If you're using polling triggers, consider sending data to Rollout via POST Request.
You'll notice that the tabs in the Rollout interface are labelled "Settings", "Data", and "API Configuration" rather than "Settings", "Input Designer", and "API Configuration", like in Zapier:
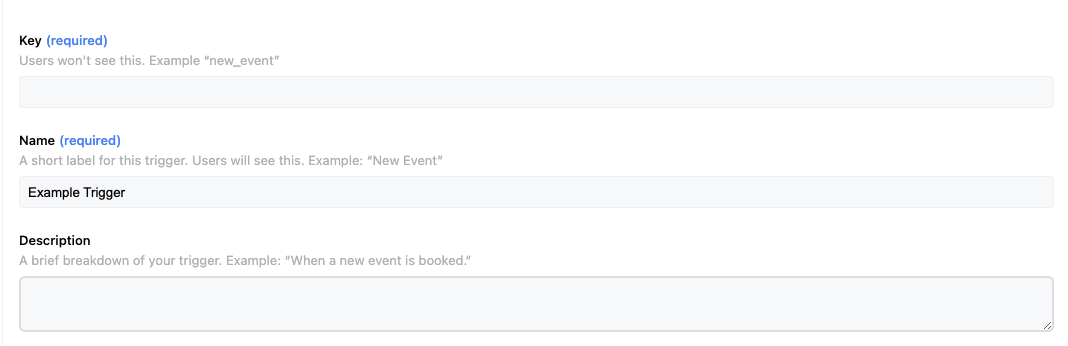
Settings#
The Settings tab is largely the same for the two products. You can copy over your Trigger's Key, Name, and Description direcly from Zapier.
Data#
The "Data" tab is where you tell Rollout what data you'll be sending with each trigger event. It roughly corresponds to the "Output Fields" section of Zapier's "API Configuration." Note that in Rollout, filling out this tab is required so that your users know what data they're able to reference when building Automations.
API Configuration#
This tab is largely the same between both products, so you'll want to copy over your Zapier configuration here. See the About Specifying Requests section above for details on how to do so and the differences between the two platforms.
Step 3: Migrate your Actions#
See the documentation regarding Creating Actions for more details
Rollout's Action creation interface has "Settings", "Input", and "API Configuration" tabs, which correspond to the tabs with the same names in Zapier.
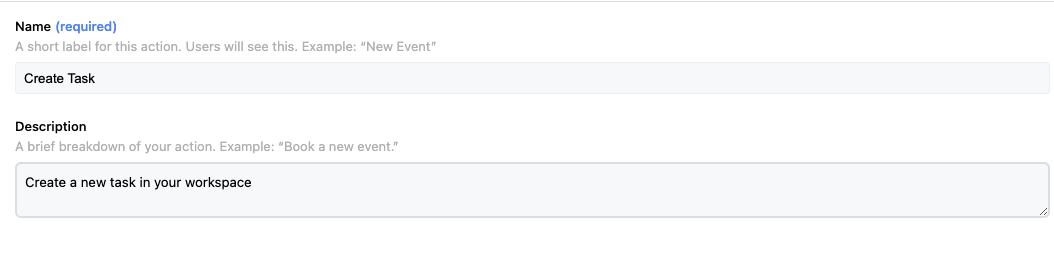
Settings#
You can copy the Action's "Name" and Description from Zapier into Rollout. Rollout does not employ a concept of "Noun" or "Key" for Actions.
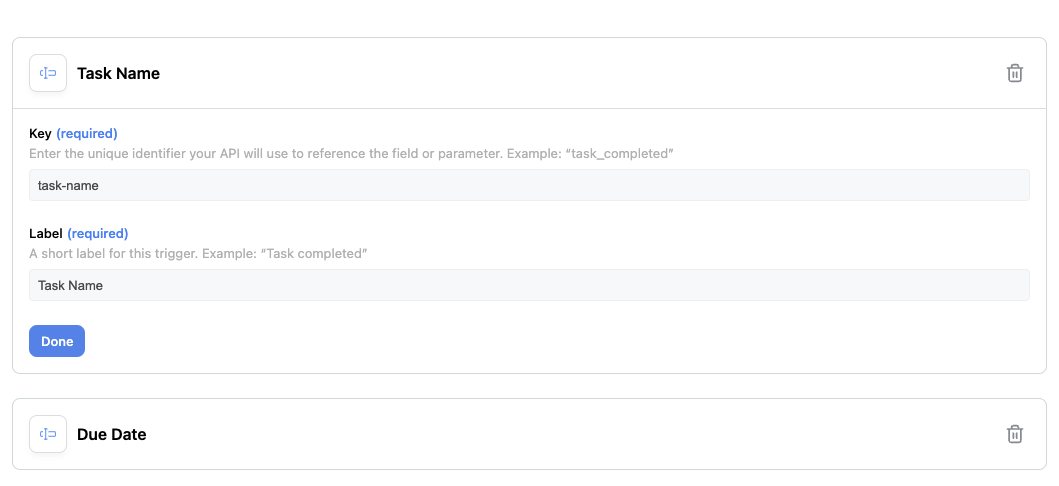
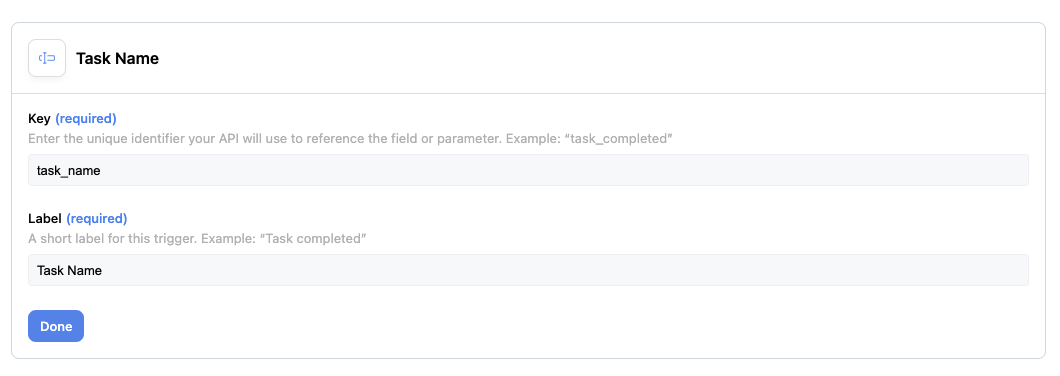
Input#
This tab corresponds to Zapier's "Input Designer" tab. This is where you'll define the inputs needed from the user in order to perform this action.
API Configuration#
This tab is largely the same between both products, so you'll want to copy over your Zapier configuration here. See the About Specifying Requests section above for details on how to do so and the differences between the two platforms.
In addition to the contextual values you're always able to reference, you'll also be able to reference the Action's Inputs that you've defined on the previous tab.