Creating Actions
Where to create an Action#
In order to see and test newly created Actions that have not yet been published, you'll need to pass a Developer Mode JWT to the Rollout Components
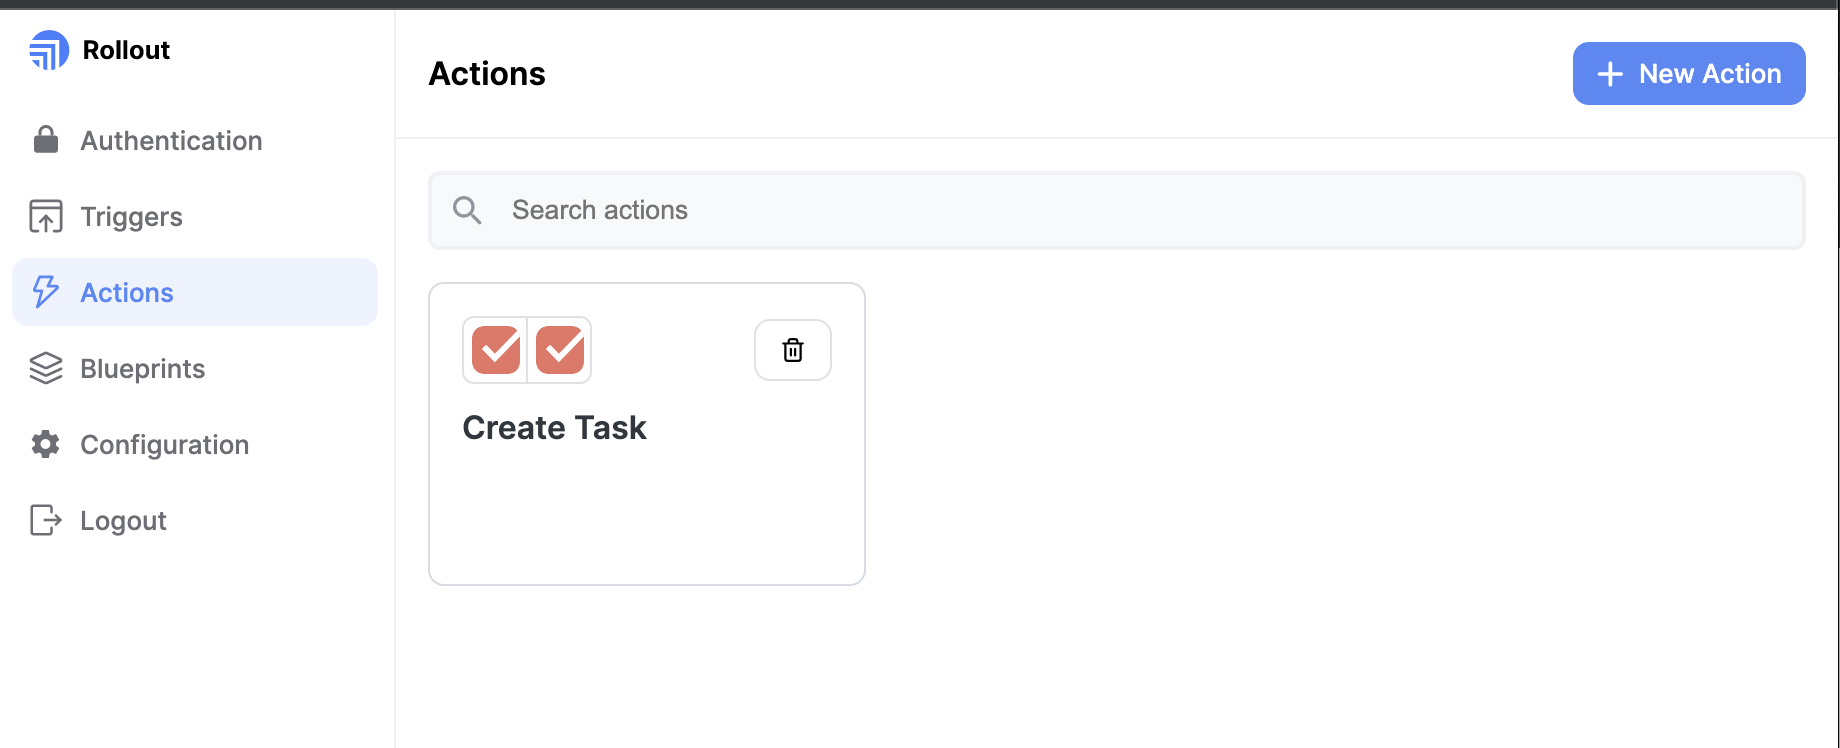
To create your Action, go to the actions page in the Rollout dashboard and click the + New Action button in top right hand corner.
1. Configure Settings#
First enter some details to uniquely describe your Action. The following table explains the various settings and their properties.
| Action Setting | required | Description | Example |
|---|---|---|---|
| Name | ✅ | Label shown to users when selecting the action. | Create Task |
| Description | Description shown to users after selecting the action. | Create a new task in X app |
2. Describe Inputs#
Describe the Inputs that Rollout should provide for this Action. The Inputs described here can be helpful to configure the action, e.g. for creating a task you may want to specify which project or list to add it to and who to assign it to.
The following table explains the various Input properties.
| Property | Required | Description | Example |
|---|---|---|---|
| Key | ✅ | Unique key which your API will use to reference this field | task_name |
| Label | ✅ | Label shown to user | "Task Name" |
To add new input, in the "Inputs" tab of your Action creation wizard, there will be an empty form to define your first input. Once you've defined the first one, you can add more by clicking the new button below it.
3. Tell Rollout how to make the Action request#
Rollout can send an Action request to your app by making an HTTP Request.
To configure what type of request Rollout should send you you can:
- Use the Rollout dashboard user interface
- Write the exact code to be used in our Code Mode Runtime
Action requests in the Rollout dashboard#
- Select an http method from the dropdown (e.g.
POST) - Enter a request url where Rollout should send requests to (e.g.
https://yourapi.com/action/create_task) - Configure key value pairs for:
- Params
- Headers
- Body (💡 Unavailable for
GET|HEADmethods)
- Configure options for:
- Omitting empty parameters
- Omitting empty body fields
Referencing variables#
In specifying the HTTP request to your app, you may want to reference input values for the Action, to dynamically refer to these variables you can start typing {{ into any value field while specifying the HTTP request. You should see a dropdown of all the available variables you can reference and make your selection.
You should see:
- All available inputs can be referenced via the
inputs.prefix - All context variables can be referenced via the
context.prefix (this will include theuserId)
Action requests in Code Mode#
💡 If you switch to Code Mode after having started configuring the UI, the existing configurations will be parsed to code. Once saved, any subsequent switches from UI to Code Mode will not override any additional code changes you make. Likewise, any code updates made will not affect UI configuration settings.
Whichever mode is saved takes precedence when actions are executed
You may choose to configure the HTTP Request for your Action directly in code which grants a greater degree of control over each request. You may choose to do this for security reasons such as if you require HMAC authentication against the configured endpoint.
To learn more about the Code Mode runtime, see this page.
Example of HMAC Authentication using Code Mode#
If you wanted to secure each request using HMAC authentication, here is an example:
const url = "https://yourapi.com/action/create_task";const { task_name, task_description } = inputs;const body = JSON.stringify({task_name,task_description,});const hmacSignature = utils.crypto.createHmac("sha256", env.HMAC_SECRET).update(body).digest("hex");const options = {headers: {"HMAC-Signature": hmacSignature,"Content-Type": "application/json",},body,method: "POST",};return await utils.fetch(url, options).then((res) => res.json());